


Introduction
Since arbitrary nodes don’t have predefined types, there needs to be a way to specify custom icons. Here are a few possible approaches.Icon Selection
Predefined icon set
- Provide a set of icons (from Font Awesome) and allow users to specify an icon name
- Users can optionally specify a color per node kind. Acceptable values are #RGB or #RRGGBB
- The entirety of the free, solid icons that font awesome offers are available. Supported icons can be viewed on the official Font Awesome docs.
- User must correctly specify the icon name using Font Awesome’s naming conventions.
- A valid icon name will be something like “house” or “smile” without any fa-, fas-, etc. prefixes
- Render a (?) icon on failed mappings.
- Provide a
PUTendpoint for users to correct erroneous mappings (ie. feUser instead of faUser)
Example payload for custom icons
Example with API Explorer
You can set custom icons directly from the BloodHound API Explorer without writing any code.1
Open the API Explorer
Navigate to the API Explorer from the BloodHound menu.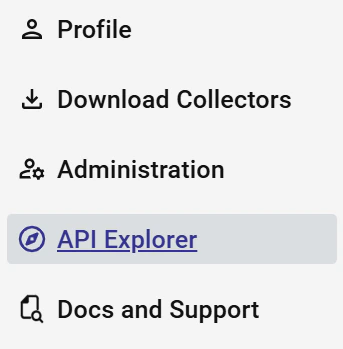
2
Select the POST endpoint
Under Custom Node Management, expand the 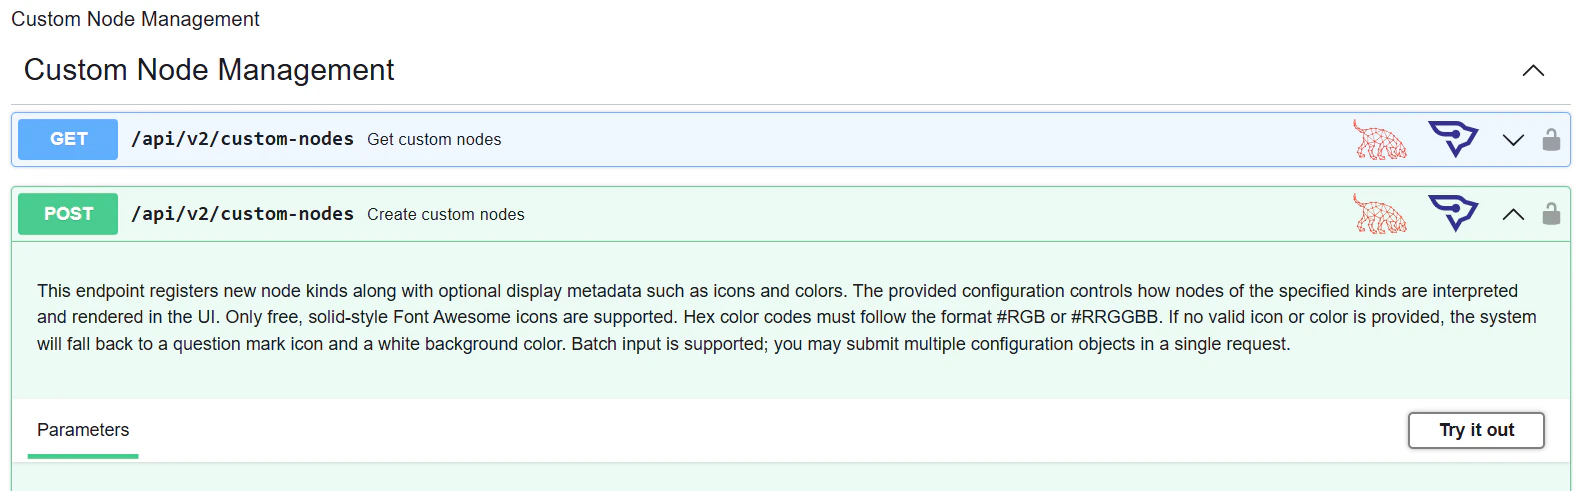
POST /api/v2/custom-nodes endpoint and click Try it out.3
Enter your payload and execute
Enter your custom icon configuration in the Request body field and click Execute.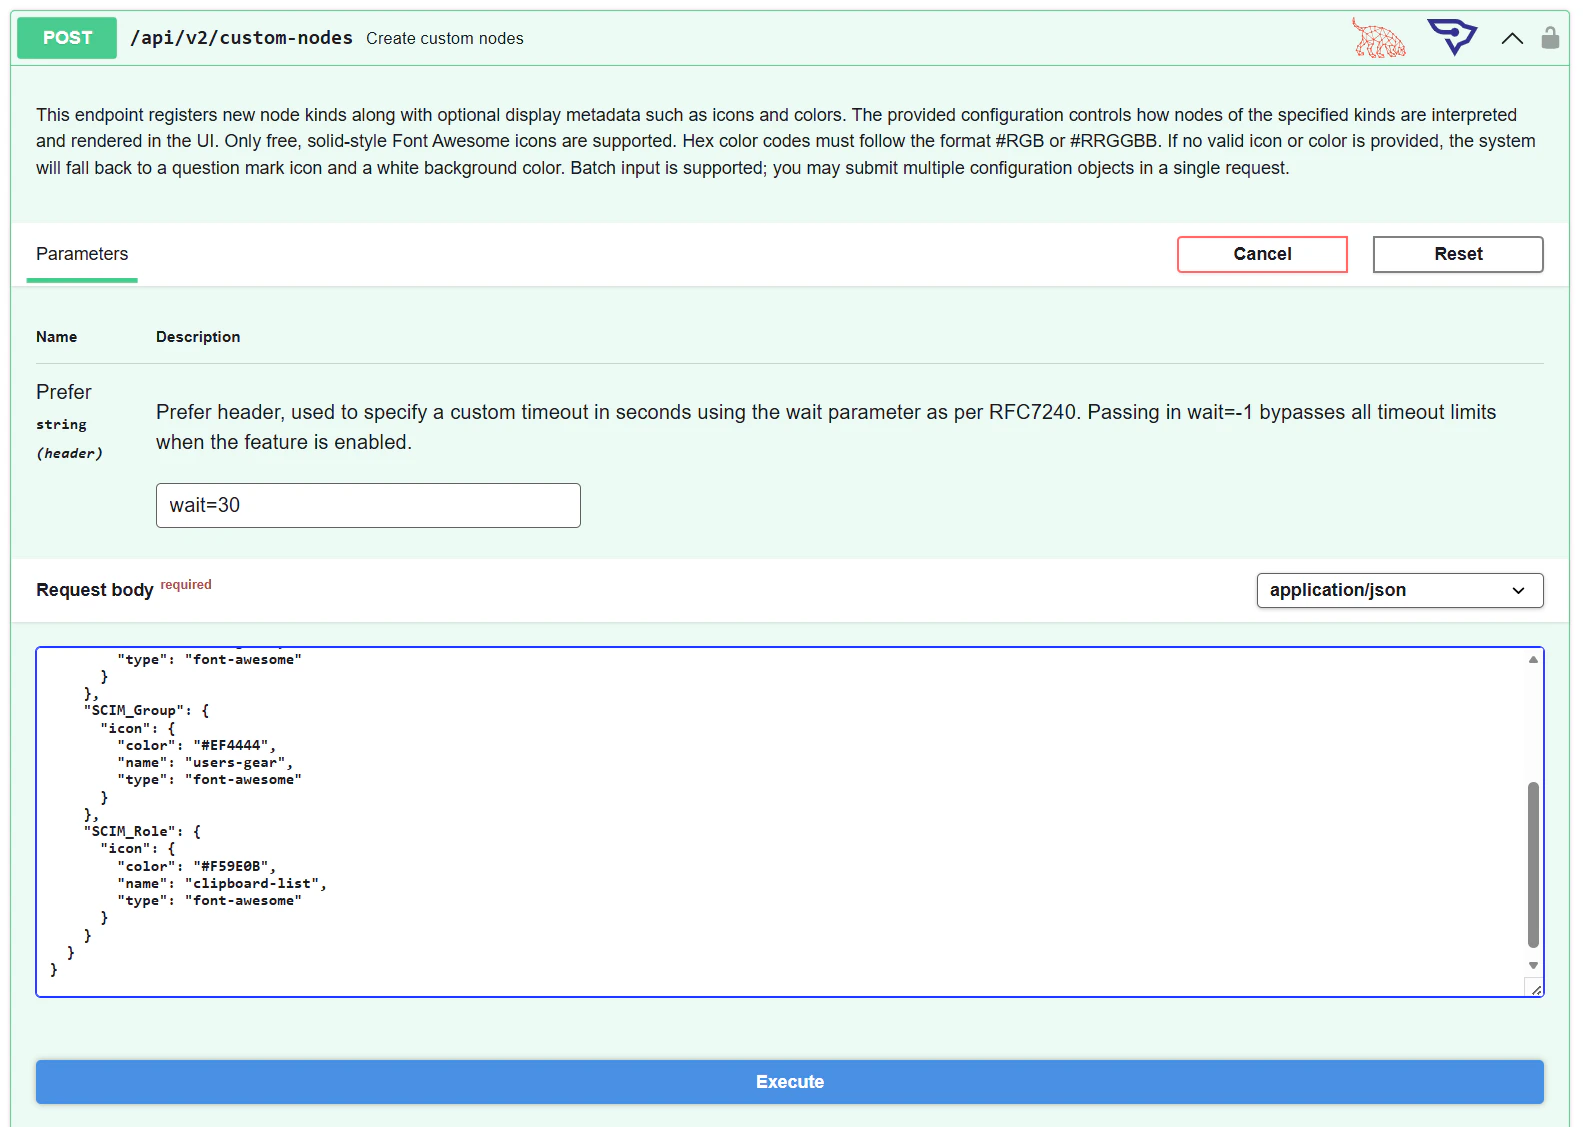
4
Verify the response
A 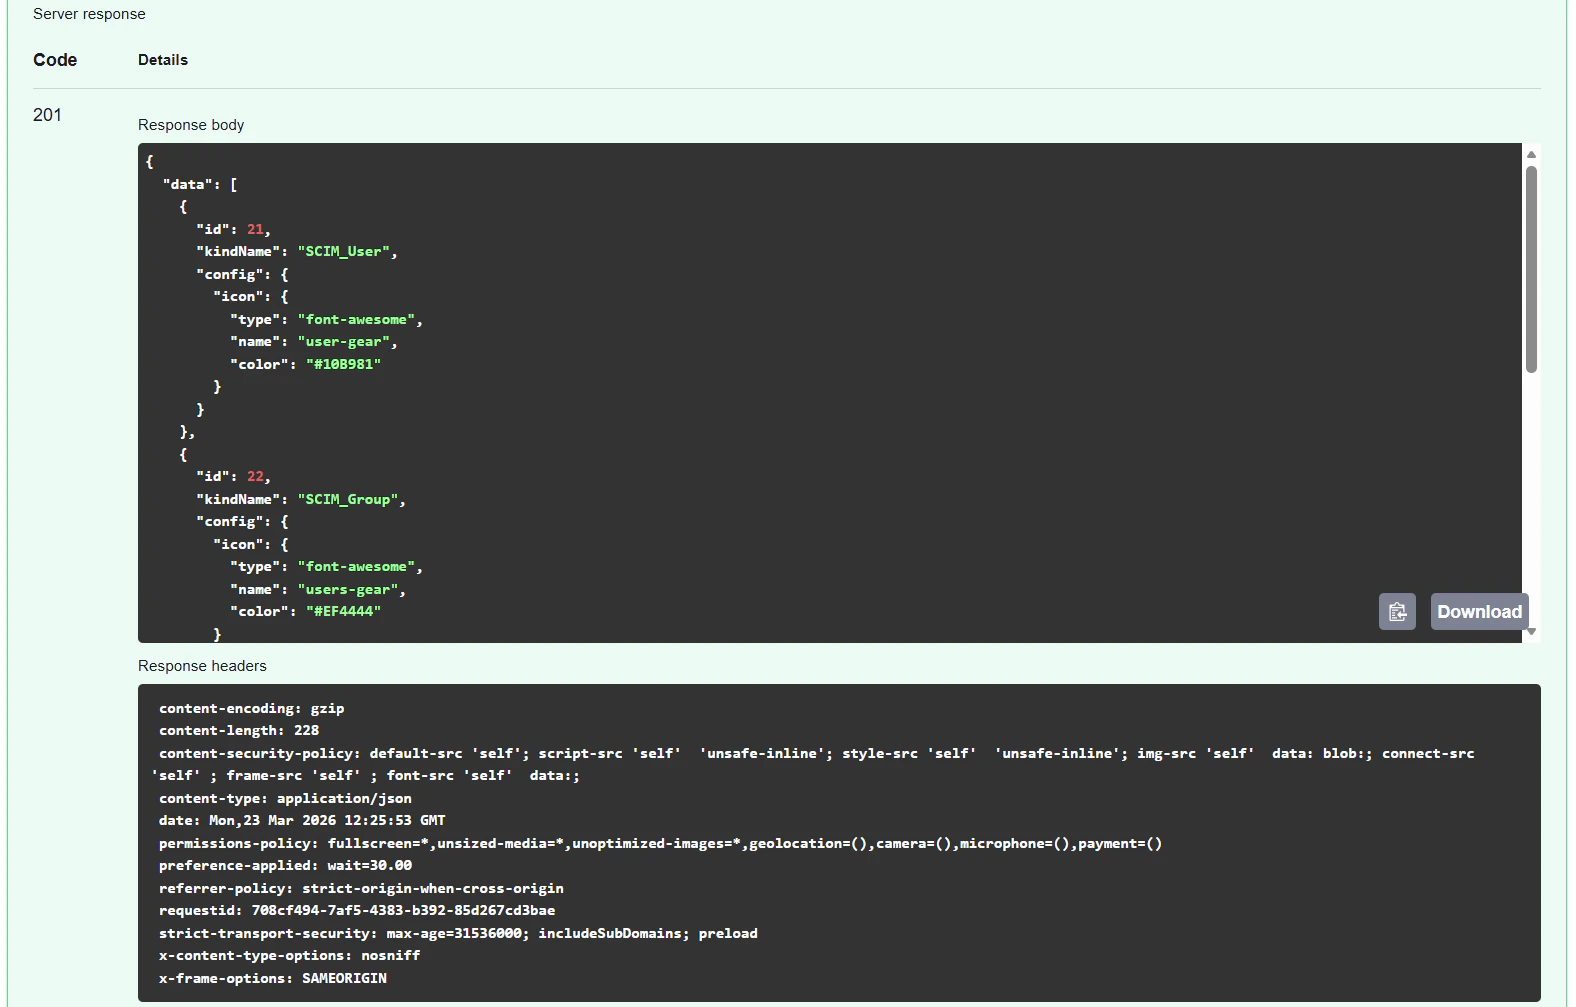
201 response confirms your custom icons were created successfully.Example with Python
Here’s a simple Python script to help you customize your icons.You will need to generate a Bearer Token Note Make sure to adjust the
url and replace the place holder token in the script.
define_icon as many time as you need for each of your node type.