 The BloodHound Enterprise integration for Cortex XSOAR lets you ingest and manage BloodHound Enterprise attack path findings in Cortex XSOAR as incidents.
Use this integration to:
The BloodHound Enterprise integration for Cortex XSOAR lets you ingest and manage BloodHound Enterprise attack path findings in Cortex XSOAR as incidents.
Use this integration to:
- Automatically convert BloodHound Enterprise attack path findings into Cortex XSOAR incidents
- Attach remediation guidance and posture context to incidents
- Run playbooks and custom commands to analyze, triage, and remediate findings
- Automated incident creation with titles, descriptions, remediation guidance, impact/exposure metrics, severity, and domain/environment context
- Playbook linking per incident to run custom analysis commands
- Custom commands:
- Object ID lookup by name
- Asset information by object ID
- Path analysis between two nodes in the BloodHound graph
Prerequisites
Before installing and configuring the Cortex XSOAR integration, ensure that you have the following:- Cortex XSOAR instance with an admin account
- BloodHound Enterprise tenant
- BloodHound Enterprise API key/ID pair
We recommend a non-personal API key/ID pair.
Configure Cortex XSOAR
Set up the SpecterOps BloodHound Enterprise integration instance in Cortex XSOAR.1
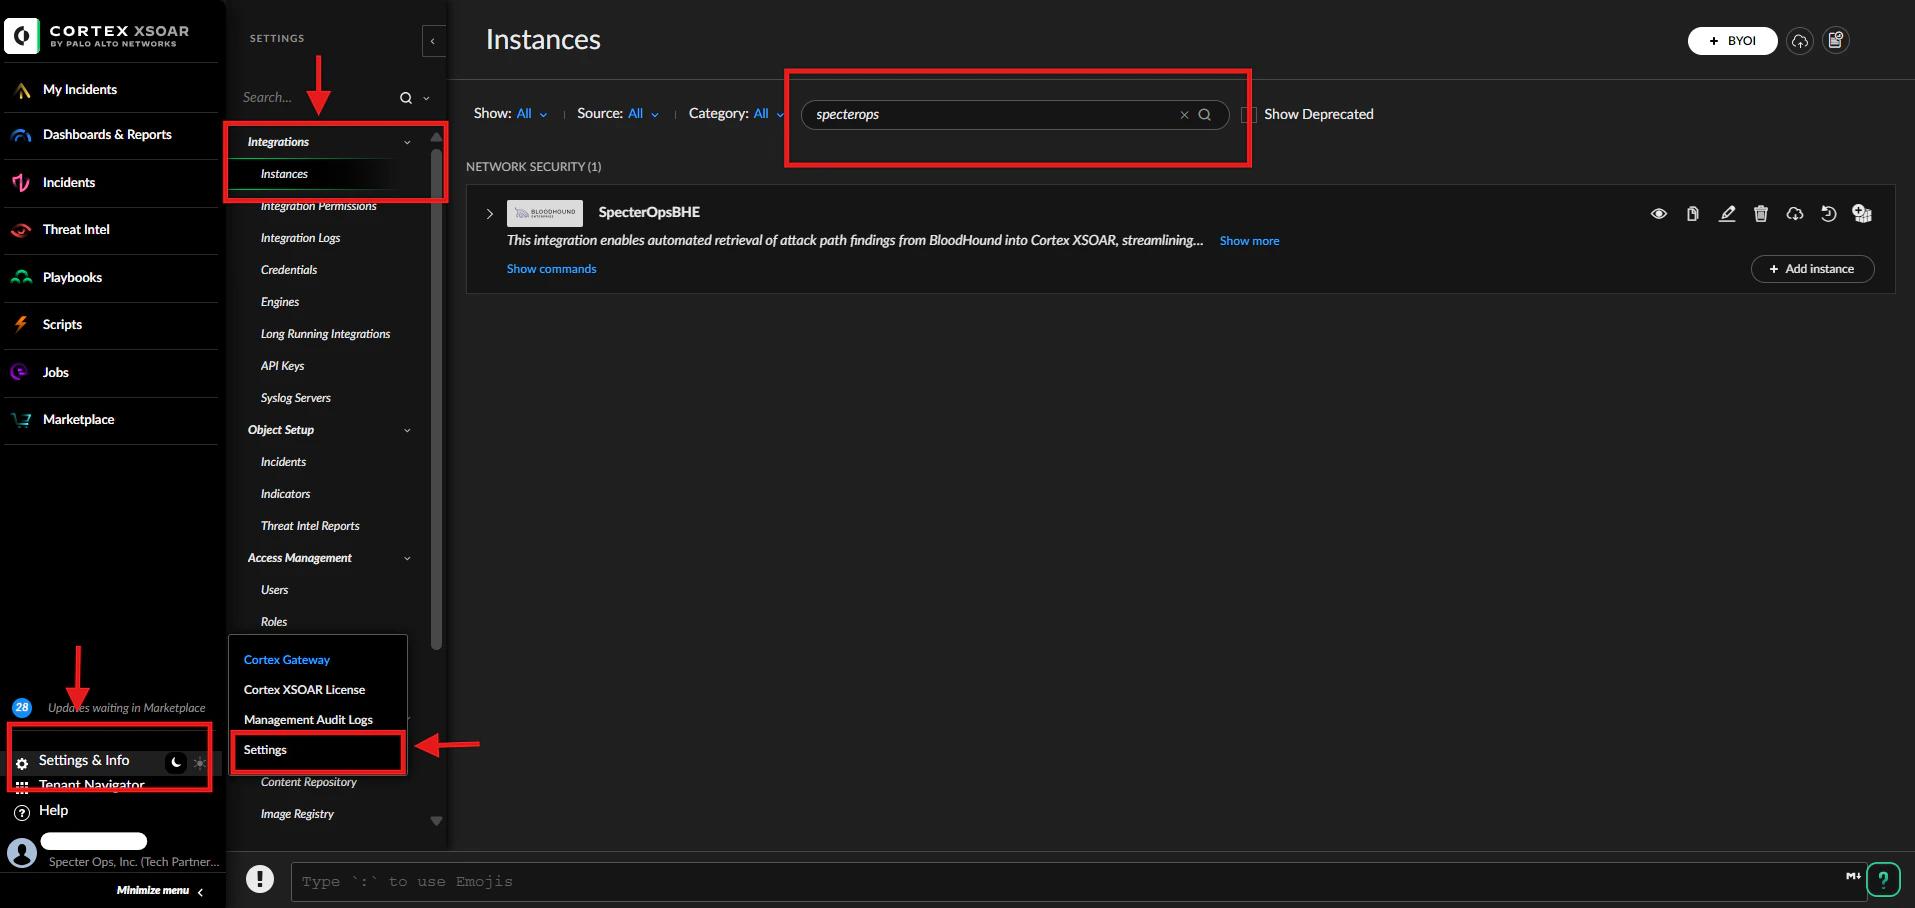
Open integration instances
- Log in to your Cortex XSOAR instance.
-
Go to Settings & Info > Settings > Integrations > Instances.
2
Add SpecterOpsBHE instance
- Search for the SpecterOps integration.
- Click Add Instance for the SpecterOpsBHE integration.
-
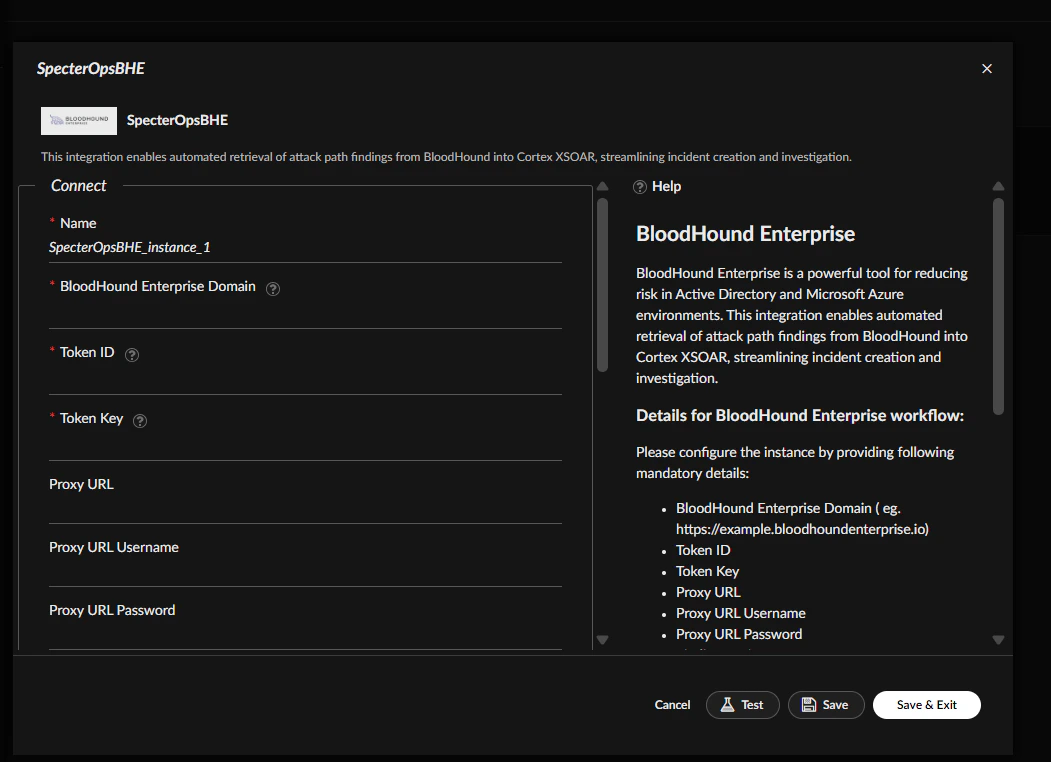
Configure settings.
By default, Finding Environment and Finding Category are set to All.
3
Enable fetching and schedule interval
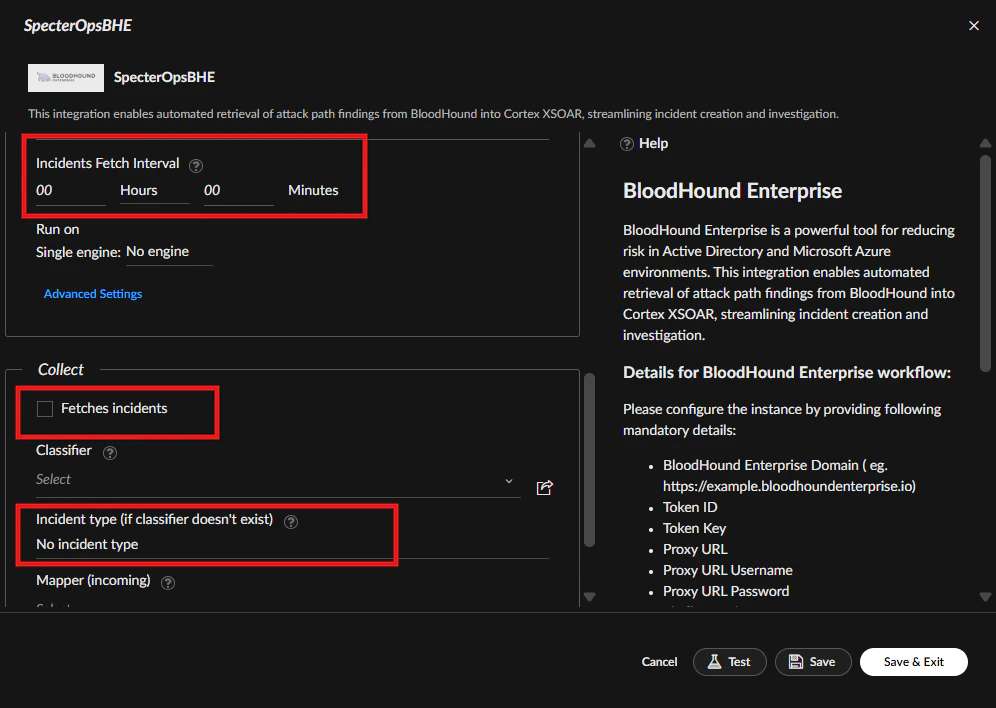
- Check the Fetches incidents option (required).
- Set Incident Type to “SpecterOpsBHE Attack Path” (optional).
-
Set the Incidents Fetch Interval to your preferred schedule (required).
The default fetch interval is 10 minutes.
4
Test and save the configuration
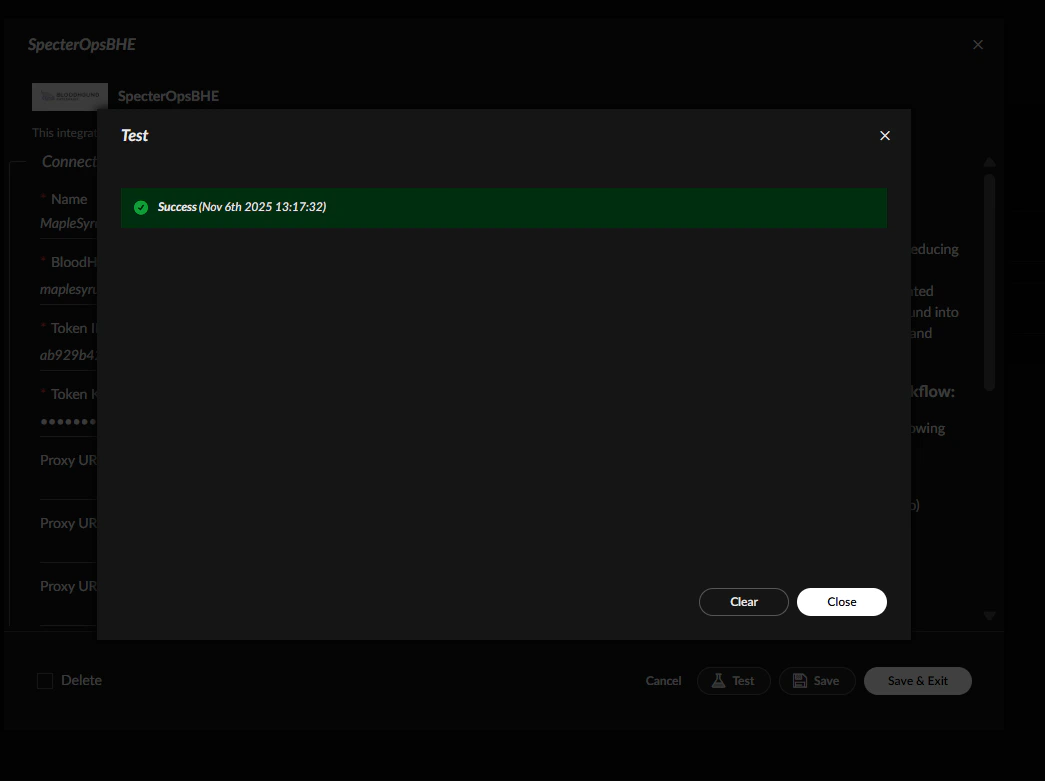
- Click Test to verify connectivity and credentials.
-
Close the modal, then Save the instance.
5
Manage multiple domains or disable instances
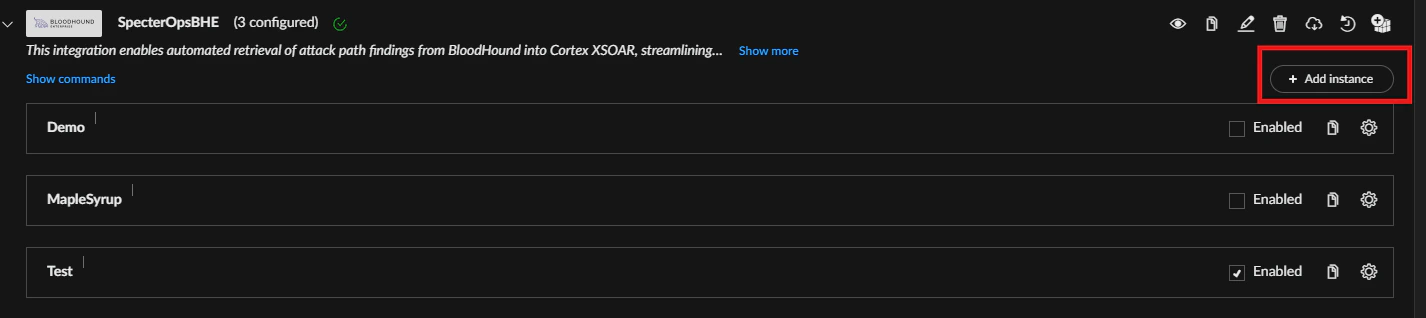
- To add additional BloodHound Enterprise domains, create more instances with Add Instance.
-
To stop fetching, uncheck Enable to disable the instance.