> ## Documentation Index
> Fetch the complete documentation index at: https://specterops-fetch-json-component.mintlify.site/llms.txt
> Use this file to discover all available pages before exploring further.
# SAML: Auth0 Configuration
> This document provides instructions for creating an application within Auth0 for compatibility with BloodHound Enterprise.
export const IDPIntro = ({auth_mode}) => {
const mode = (auth_mode || '').toUpperCase();
const isOIDC = mode === 'OIDC';
const href = isOIDC ? '/manage-bloodhound/auth/oidc' : '/manage-bloodhound/auth/saml';
const label = isOIDC ? 'OIDC' : 'SAML';
return
See {label} in BloodHound for order of operations, general {label} setup, and user configuration in BloodHound.
;
};
 ## Create an Auth0 Application
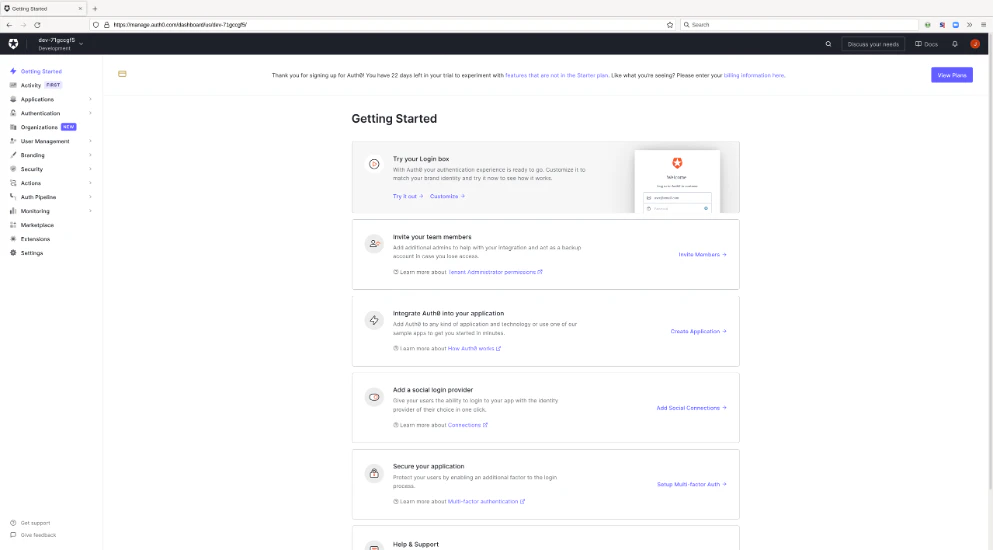
1. Create an authentication application for BloodHound Enterprise in Auth0.
## Create an Auth0 Application
1. Create an authentication application for BloodHound Enterprise in Auth0.
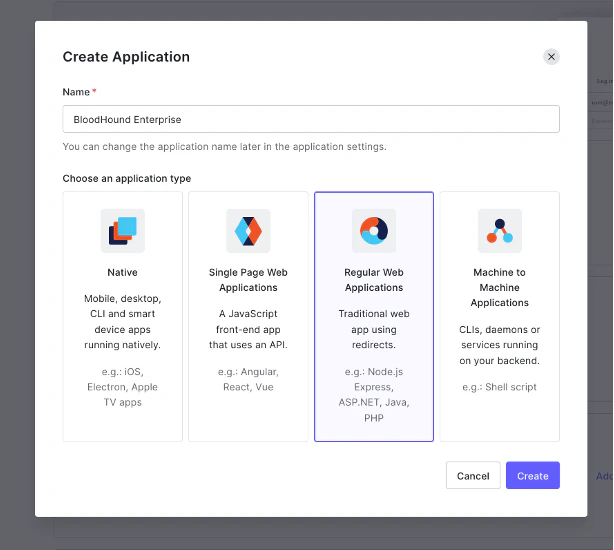
 2. Assign a recognizable name to the application and select the integration option for "Regular Web Application."
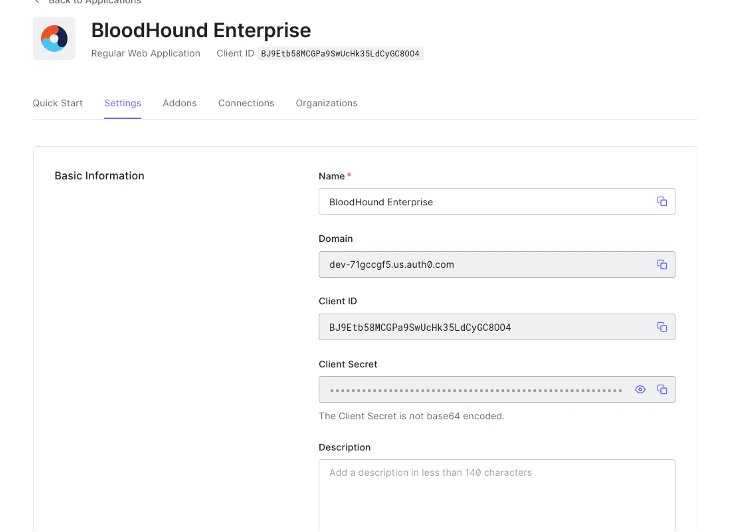
 3. After the creation of the application in Auth0 you should see the application details page.
 4. Click on the "Addons" tab.
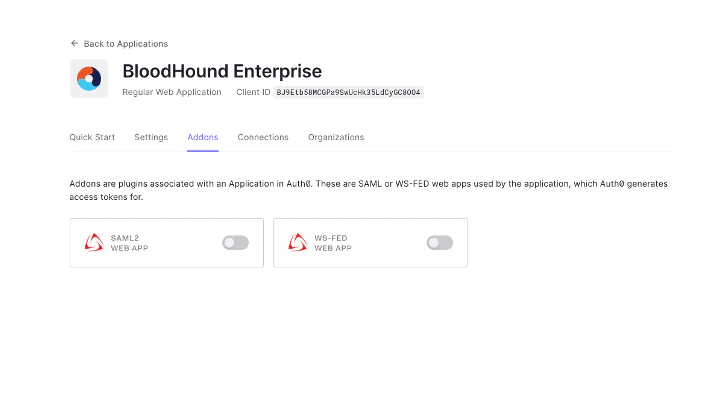 5. Enable the "SAML2 Webapp" toggle and download the Identify Provider Metadata file.
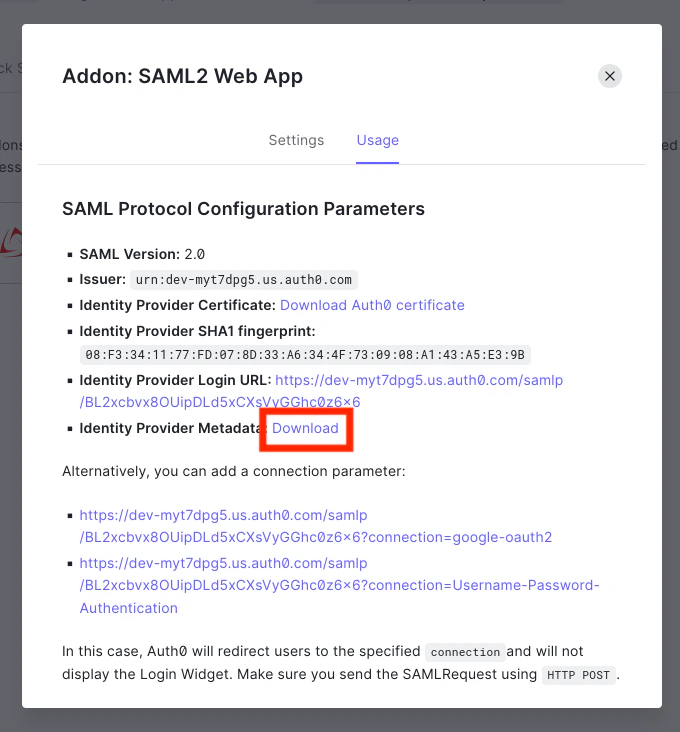 6. Follow the instructions at [SAML in BloodHound Enterprise](/manage-bloodhound/auth/saml) to create the SAML provider in BloodHound Enterprise.