> ## Documentation Index
> Fetch the complete documentation index at: https://specterops-fetch-json-component.mintlify.site/llms.txt
> Use this file to discover all available pages before exploring further.
# Create a BloodHound Enterprise Collector Client
 ## Purpose
This guide explains how to create a BloodHound Enterprise collector client, either of:
* SharpHound Enterprise
* AzureHound Enterprise
It should be used by BloodHound Enterprise (BHE) administrators when deploying SharpHound Enterprise or AzureHound Enterprise.
## Prerequisites
* Having deployed a BloodHound Enterprise Tenant
* Logged in as a user role, which is authorized to create a new collector client, see [Administering users and roles](/manage-bloodhound/auth/users-and-roles)
## Process
1. In the top right, click settings ⚙️ → **Administration**
## Purpose
This guide explains how to create a BloodHound Enterprise collector client, either of:
* SharpHound Enterprise
* AzureHound Enterprise
It should be used by BloodHound Enterprise (BHE) administrators when deploying SharpHound Enterprise or AzureHound Enterprise.
## Prerequisites
* Having deployed a BloodHound Enterprise Tenant
* Logged in as a user role, which is authorized to create a new collector client, see [Administering users and roles](/manage-bloodhound/auth/users-and-roles)
## Process
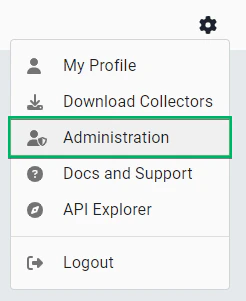
1. In the top right, click settings ⚙️ → **Administration**
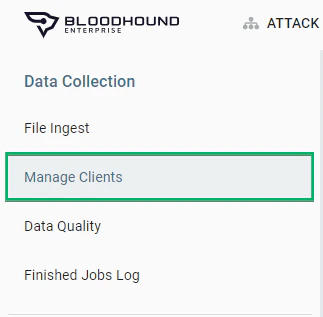
 2. In the top left side, click **Manage Clients**
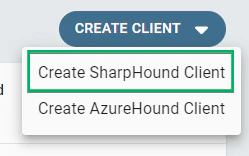
 3. On the right side, click **Create Client** and, from the drop-down, select one of the collector clients, for example **Create SharpHound Client**
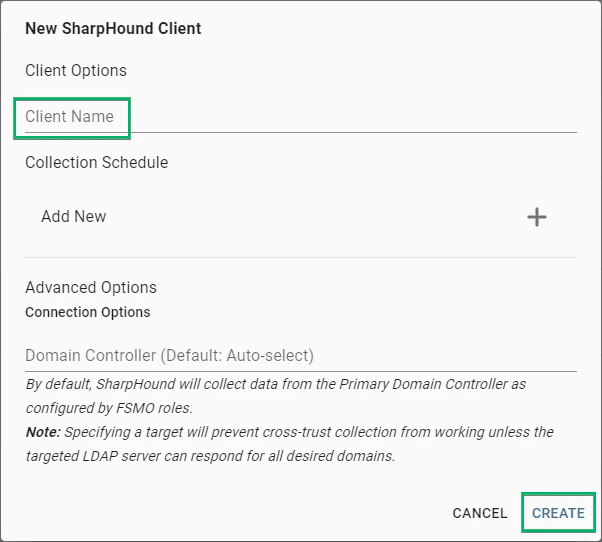
 4. In the pop-up window, for example named *New SharpHound Enterprise Client*, input the **Client Name** and click **CREATE**
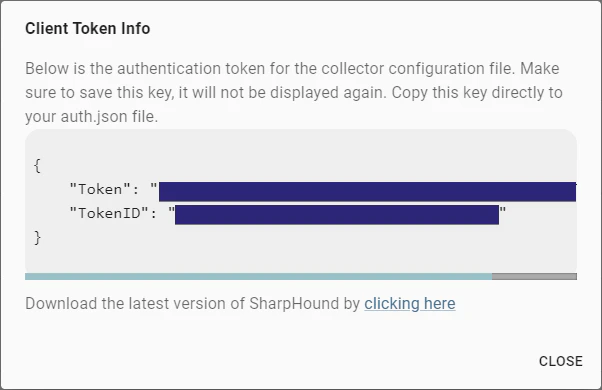
 5. The pop-up window *Client Token Info* will appear; follow the instructions in it - save the key before clicking **CLOSE**
 ## Outcome
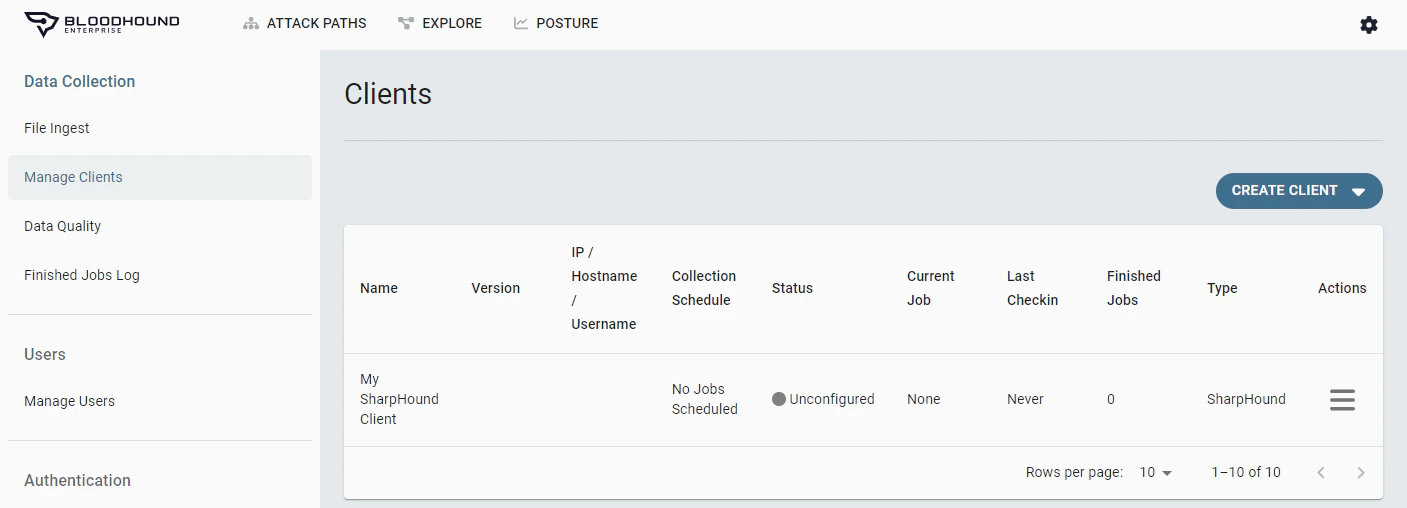
The collector client will appear in the **Manage Clients** table with a **Status** of **Unconfigured**.
## Outcome
The collector client will appear in the **Manage Clients** table with a **Status** of **Unconfigured**.